Subscribe Twitter Facebook

Thursday, July 26, 2012

December 4, 1979

Hello fellow followers.  I'm glad that I've found some time to write this little post about another project I've been working on.

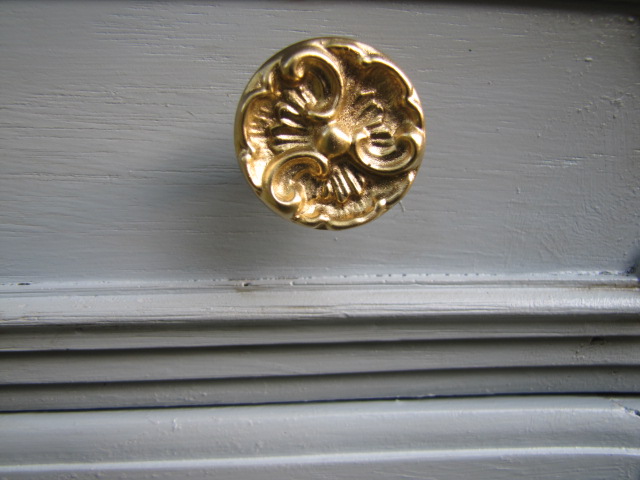
I named the title of this post after the date that was stamped on the back of this little beauty.


I Googled 12/4/79 and nothing eventful happened on that day, except Lisa Minelli's 3rd marriage and some baseball player retired.

Anyway, enough about history, I got her (yes I do talk about furniture like they are people) for an amazingly low price and even haggled a bit since I was only able to purchase the 1.  I would love to have bought a set, but the second hand store only had this one and so I thought I would use it for my room as an end table or nightstand. 

She sat on my front porch all winter collecting my shoes and my kids shoes insider her cabinet.

Up until recently I finally found some time and inspiration on how to use her.

So the top of the veneer was all bubbly when I bought it and being out in the elements didn't help either.

I decided to take the veneer off by using a steamy iron and a spackle/putty knife.


Ok, warning!!! Alert! Alert! Something I want to share with you when you decide to attempt to remove veneer off of furniture.  First off, depending on the condition of the veneer you will encounter some difficulty removing it, like I did. 

Because the furniture maker/manufacturers use super, super, super extra strenth glue to stick the veneer on to furniture.  I had quite a hard time taking it off and when using the hot steamy iron in order to melt the glue enough to pry it off with the putty knife I left some burn marks on the wood underneath.  See...


My intention initially was to paint the bottom half and stain the top, but after I burnt the top I knew that even a dark stain wouldn't be able to hide that burn mark.  My caveat, be very careful in using the hot iron in making sure that you don't leave it on too long since you'll end up in my shoes with a burned spot.

Now perhaps in my lack of expertise I could have done something about that burn spot, but after sanding it a couple of times it didn't go away, so I decided to go with plan B (I didn't have one, but after I went loco happy with the iron, I needed one ASAP).


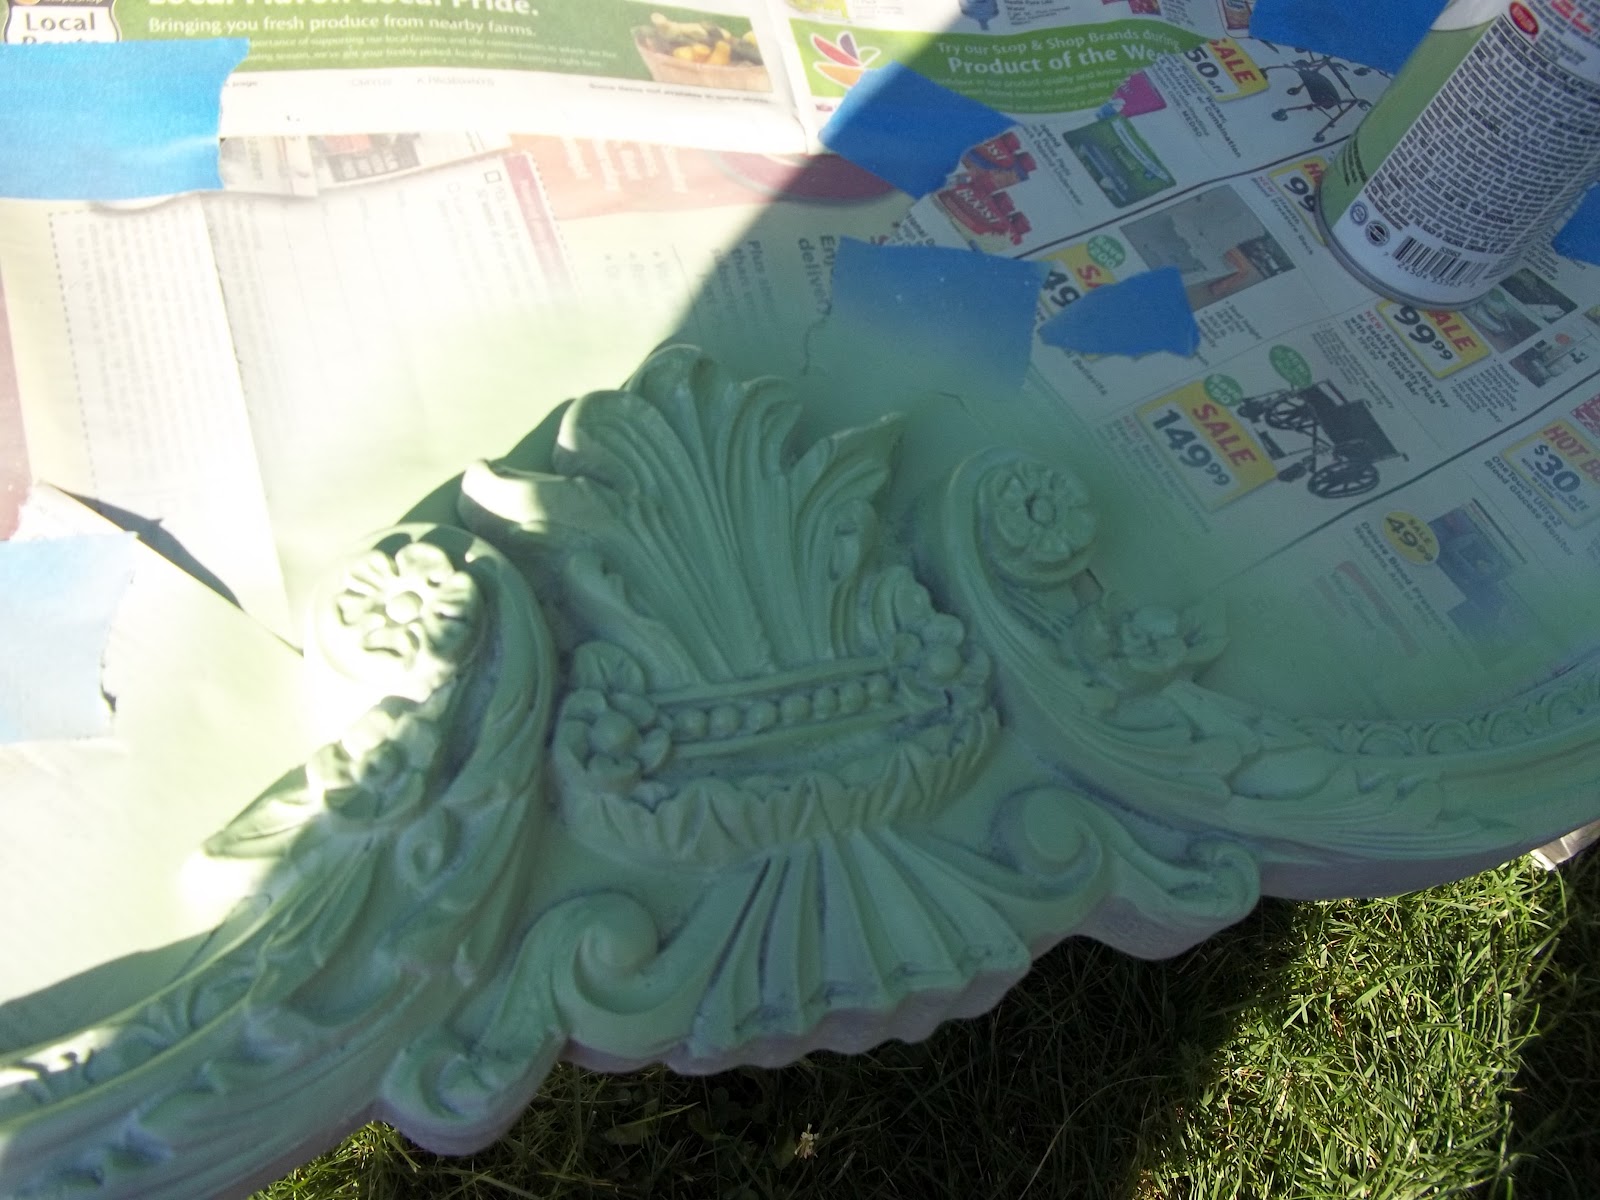
To make this brief, I'll let the pictures do the story telling.  But I primed and painted the bottom in a oops paint color I mixed up together and hand dipped the hardware in liquid gold.  spray painted the hardware gold.  For the top I painted that the same color and used a poster board I cut out to make a template for my chalkboard paint... Oh yea I'm taking it there.

And so because the chalkboard paint didn't have smooth edges when I removed the tape, I stenciled in a design to distract from the uncrisp (if that's a word) edges.

It seems all my mistakes led me to make another decision to hide correct the previous mistake. And being the lazy DIY'er I just rolled with it rather than doing it over.  Such is life, when it hands you lemons, make some lemonade!


And this is the finished product.  What do you think?  Is there anything I could have done differently or better?  Please share your thoughts and comments.


As always, thanks for stopping by! In Christ's peace..
Patricia


Linking up to:


P.S. I always want to end with some words of wisdom from our Lord and Savior, Jesus Christ.  Something essential I learned a little while back.


"If anyone wishes to come after Me, he must deny himself, and take up his cross daily and follow Me."

-- Luke 9:23

Sunday, July 15, 2012

Stencil n' Funk

Hi friends,

I wanted to share with you a sweet little dresser or end table that was in need of a makeover.  I found it in a second hand store and originally had the idea to paint it for my daughter and use it in her room, but I found it a bit too small, so I changed my mind and instead will sell it on CL.

It was badly painted a soft pink and the dirt and grime on it was tough to remove.


After cleaning, sanding and painting and stenciling I was able to turn it into this...


The stenciling was a bit time consuming, but seeing it now I think it makes it look cool.  It was a fun project and not super long to do.

Hope you like it, leave me a comment if you do.


As always in Christ's peace..
Patricia

Linking to: 


Totally Transformed Tuesday


BNOTP

Saturday, July 14, 2012

TV Server

Hello again friendly followers!  Yes I'm posting two times in the same week, woohoo!

Anyways, I have a project I did in the past that I wanted to share with you all.

My little one figured out how to use the TV's on/off button.  This is because the TV stand that we had was a lot lower to her reaching levels, so I knew I needed something taller or a TV cabinet with doors.  After searching CL, I couldn't find anything decent or cheap affordable, but I did find an antique 9 piece mahagony dining set for $90.  Yep, I know ridiculous, I couldn't believe it either. 

The young couple that sold it to me, said it came with the house they bought and were now trying to sell and so they needed to clear it out of their basement.

I managed to stuff all 9 pieces of this dining set into a minivan. That was pretty incredible in itself, but that is another story.

I recalled Marion at MMS (Miss Mustard Seed) and her buffet/server turned TV stand for her newly acquired flat screen tv.


She instantly inspired me as she always does and I wanted the same thing.  So when I looked over my newly acquired dining set, I instantly knew what to do with the server.


Because I'm such a bad blogger, I searched and it seems that I don't have any pictures before I painted and stained it, but here it is in the process of its makeover in my workshop garage.


And here it is, in it's full function and form.  Not as staged as Marian's, but full of day to day reality when you have small children.


Thanks for checking out my little before/after story. And as always lets finish with some truth & light.


"Seek the LORD and His strength: seek His presence continually!"

- Psalm 105:4

God Bless & in Christ's peace,
Patricia

Monday, July 9, 2012

No not Speedo, but Mr. Earl

Hello everyone!  First of all, I know what you're going to say.  Where the heck have you been for the past 6 months?  Bad, bad blogger. But I hope to get better about that.

I'm writing this post because I wanted to share some things about a revamp I did on a tall dresser I bought last summer. 

Have you ever come across a piece of furniture that is screaming to take it home with you?  Well such was the case on a very tall and very heavy dresser I found at the SA (Salvation Army).  It was reasonably priced and I loved all the details of it.

Here he is...Mr. Earl, at least that's what I called him when I saw him.


He was a bit scuffed up and dirty but I instantly knew that he had class, he was somebody that was once admired and regal.

Well from the very beginning, he was a toughie, not only in size and weight but all those details and carvings.

It took me a couple of months to get him to his new found glory.  Check out some pics from behind the scenes.  Alot of my sweat, blood, heart and soul went into my trist with Mr. Earl.


Here he was stripped and sanded, then stripped and sanded some more..


Mr. Earl is looking quite dignified in his birthday suit.


His first coat of paint (I even got to use my new paint sprayer on him)


Say hello to Mr. Earl Grey.. (he's British btw)


In my humble opinion, he looks refined, refreshed and renewed. It was an awesome opportunity to put the good looks on him and I learned alot along the way about do's and don'ts of painting big furniture and all that is  involved.  I can truly say he was definitely a labor of love.


But before I finish, I wanted to end this post on a high note...  After all, He is the creator, the ruler and the one that has allowed all of this to take place...


The Word of the day...

"We have proved ourselves by our purity, our understanding, our patience, our kindness, our sincere love and the power of the Holy Spirit."

- 2 Corinthians 6:6


God's blessings and Christ's peace,

Patricia

Friday, January 27, 2012

Vintage Romance Mirror

Last summer, the word spread that I'm into refinishing old furniture, so my hubby's aunt's neighbor were moving out of the country and they had a very large, very gold and very tacky vintage mirror.  Initially, they were going to sell it to me because they thought I was going to resell it.  But when they found out that I was actually going to keep it, they decided to give it to me for FREE.  That's my favorite four letter word.


Here is what it looked like.  Again this is a camera phone pic and the people in the picture are the people who gave it to me along with my hubby's aunt.


It has nice decorative features, but I wasn't too sure about the kissing couples.  Here is a close up of them.


I don't have any pics of all the work behind the transformation, but it took me 3 days to prime it and spray paint it a Pistachio color and I then glazed it with Valspar Bronze patina glaze.  What took the most amount of time was hand-painting each single flower and scroll detail with an antique gold paint.  Lastly I highlighted the entire mirror with a champagne paint with a fan brush. 


Update: I found some pictures of the transformation, yay!


These are a closer look at some of the details.


After priming I finished with the Rustoleum in Pistachio.


And this is what it looks like now. 


Not so tacky, right?

I may remove the kissing couples and insert mirrors at some future point or even some pretty wallpaper.

What do you think, I hope you like it.

God Bless, until next time,
Patricia


Powered by Blogger